Basement Drain Tile Installation: A Guide for Wisconsin Homeowners
Introduction: The Essentials of Replacing Interior Drain Tiles in Your Basement
In this article I will describe how to replace Interior Drain Tiles (IT) in the basement of your Wisconsin home.
The basement serves as a crucial part of a home, providing valuable space for storage, recreational activities, or even additional living areas. However, basements are also susceptible to water infiltration, and one effective solution to prevent moisture-related issues is the installation and maintenance of interior drain tile (IT). In this comprehensive guide, I will dive into the importance of (IT), signs that replacement may be necessary, and a step-by-step process for replacing IT in your basement.

Why Interior Drain Tile Matters
Interior drain tile (IT), also known as weeping tile or perimeter drain, is a system of pipes installed along the interior perimeter of the basement floor. Its primary purpose is to manage and redirect groundwater that may otherwise seep into the basement, causing issues such as water damage, mold growth, and structural problems. Here are some key reasons why IT matters:
- Preventing Basement Flooding: One of the main functions of IT is to collect and redirect water away from the basement, preventing flooding during heavy rains or snowmelt.
- Protecting Foundation Walls: By controlling water infiltration, IT helps protect the foundation walls from the damaging effects of water, such as efflorescence, cracks, and deterioration.
- Reducing Moisture and Mold: Excess moisture in the basement can lead to mold growth, which poses health risks and can damage belongings. IT plays a crucial role in keeping the basement dry and reducing humidity levels.
- Preserving Property Value: A dry and well-maintained basement contributes to the overall value and longevity of your property. It ensures that the space remains functional and can be utilized for various purposes.
Signs That Interior Drain Tile Replacement May Be Necessary
While IT is designed to be durable, it can deteriorate over time due to factors like age, sediment buildup, or improper installation. Recognizing the signs that replacement may be necessary is crucial to addressing issues before they escalate. Here are common signs that your IT might need replacement:
- Persistent Water Issues: If you notice consistent water seepage, dampness, or puddles in your basement, it could indicate that the IT is not effectively managing groundwater.
- Mold or Mildew Growth: The presence of mold or mildew on basement walls or belongings is a clear sign of excess moisture. IT failure could be contributing to this issue.
- Foul Odors: Unpleasant smells in the basement, often resembling a musty or damp odor, may indicate poor drainage and water accumulation.
- Cracks in Basement Walls: Cracks in basement walls can be a result of water pressure buildup, emphasizing the importance of a functioning IT system.
- Visible Deterioration: If you can visually inspect your interior drain tile and notice signs of deterioration, such as rust or visible damage, it's an indication that replacement may be necessary.
Step-by-Step Guide to Replacing Interior Drain Tile
Before starting the replacement process, it's essential to gather the necessary tools and materials. Here's a step-by-step guide to help you replace IT in your basement:
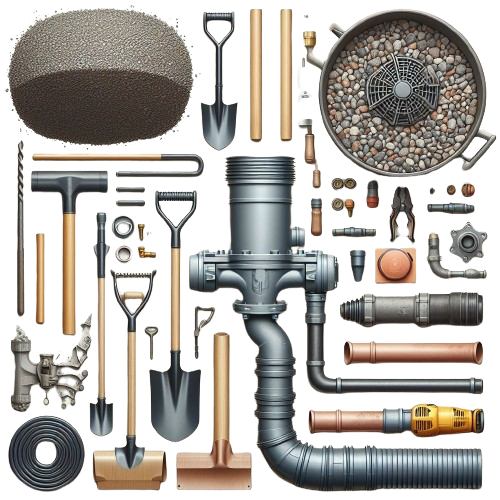
Materials and Tools
- Shovel
- Sump pump
- Miscellaneous pipe connections for sump pump discharge and IT
- Drain tile
- Gravel or crushed stone
- Pipe connectors
- Perforated ABS drain tile
- Waterproofing membrane also known as drainage board
- Concrete mix
- Rotary hammer drill
- Jackhammer
- Concrete mixer
- Mortar mix (type M or S)
Interior Drain Tile Replacement Steps
Step 1: Assessment and Preparation
Begin by assessing the condition of your existing IT. Identify areas where water issues are prevalent and inspect the current IT for damage or deterioration. Plan the replacement based on the layout of your basement.
Step 2: Excavation
Clear the area around the interior perimeter of the basement floor. Break the concrete open, remove, and dispose of the concrete around the perimeter of the basement. The width depends mainly upon the amount of footing protruding inside the basement wall. Create a trench that exposes the existing drain tile for removal.
Step 3: Removal of Old Drain Tile
Carefully remove the old or damaged IT. This may involve disconnecting pipe connectors, extracting sections of the drain tile, and clearing any debris or sediment that has accumulated. Dig and remove additional soil and/or contaminated gravel in order to make room for the new drain tile and surrounding stone. Be especially careful around existing water services and other plumbing pipes and fixtures.
Step 4: Inspection of Substrate
Inspect the substrate or the base of the trench for any damage or issues that may affect the proper functioning of the new drain tile. Address and repair any problems to ensure a solid foundation for the replacement.
Step 5: Drill Weep and Test Holes
Older homes were built with an inadequate number of cross-bleeders. This means that groundwater has a hard time migrating efficiently to the IT. In order to compensate for an inadequate number of cross-bleeders, drill weep holes into each and every block core as close to the footing as possible. Additionally, drill holes four feet above the footing every four feet around the perimeter of the basement in order to aid in properly testing and flushing the system.
Step 6: Flushing/Cleaning
In this step connect a water hose to a faucet and flush water through the test holes, weep holes, and cross-bleeders to ensure everything flows properly and the trench and footing are clean before installing the new system.
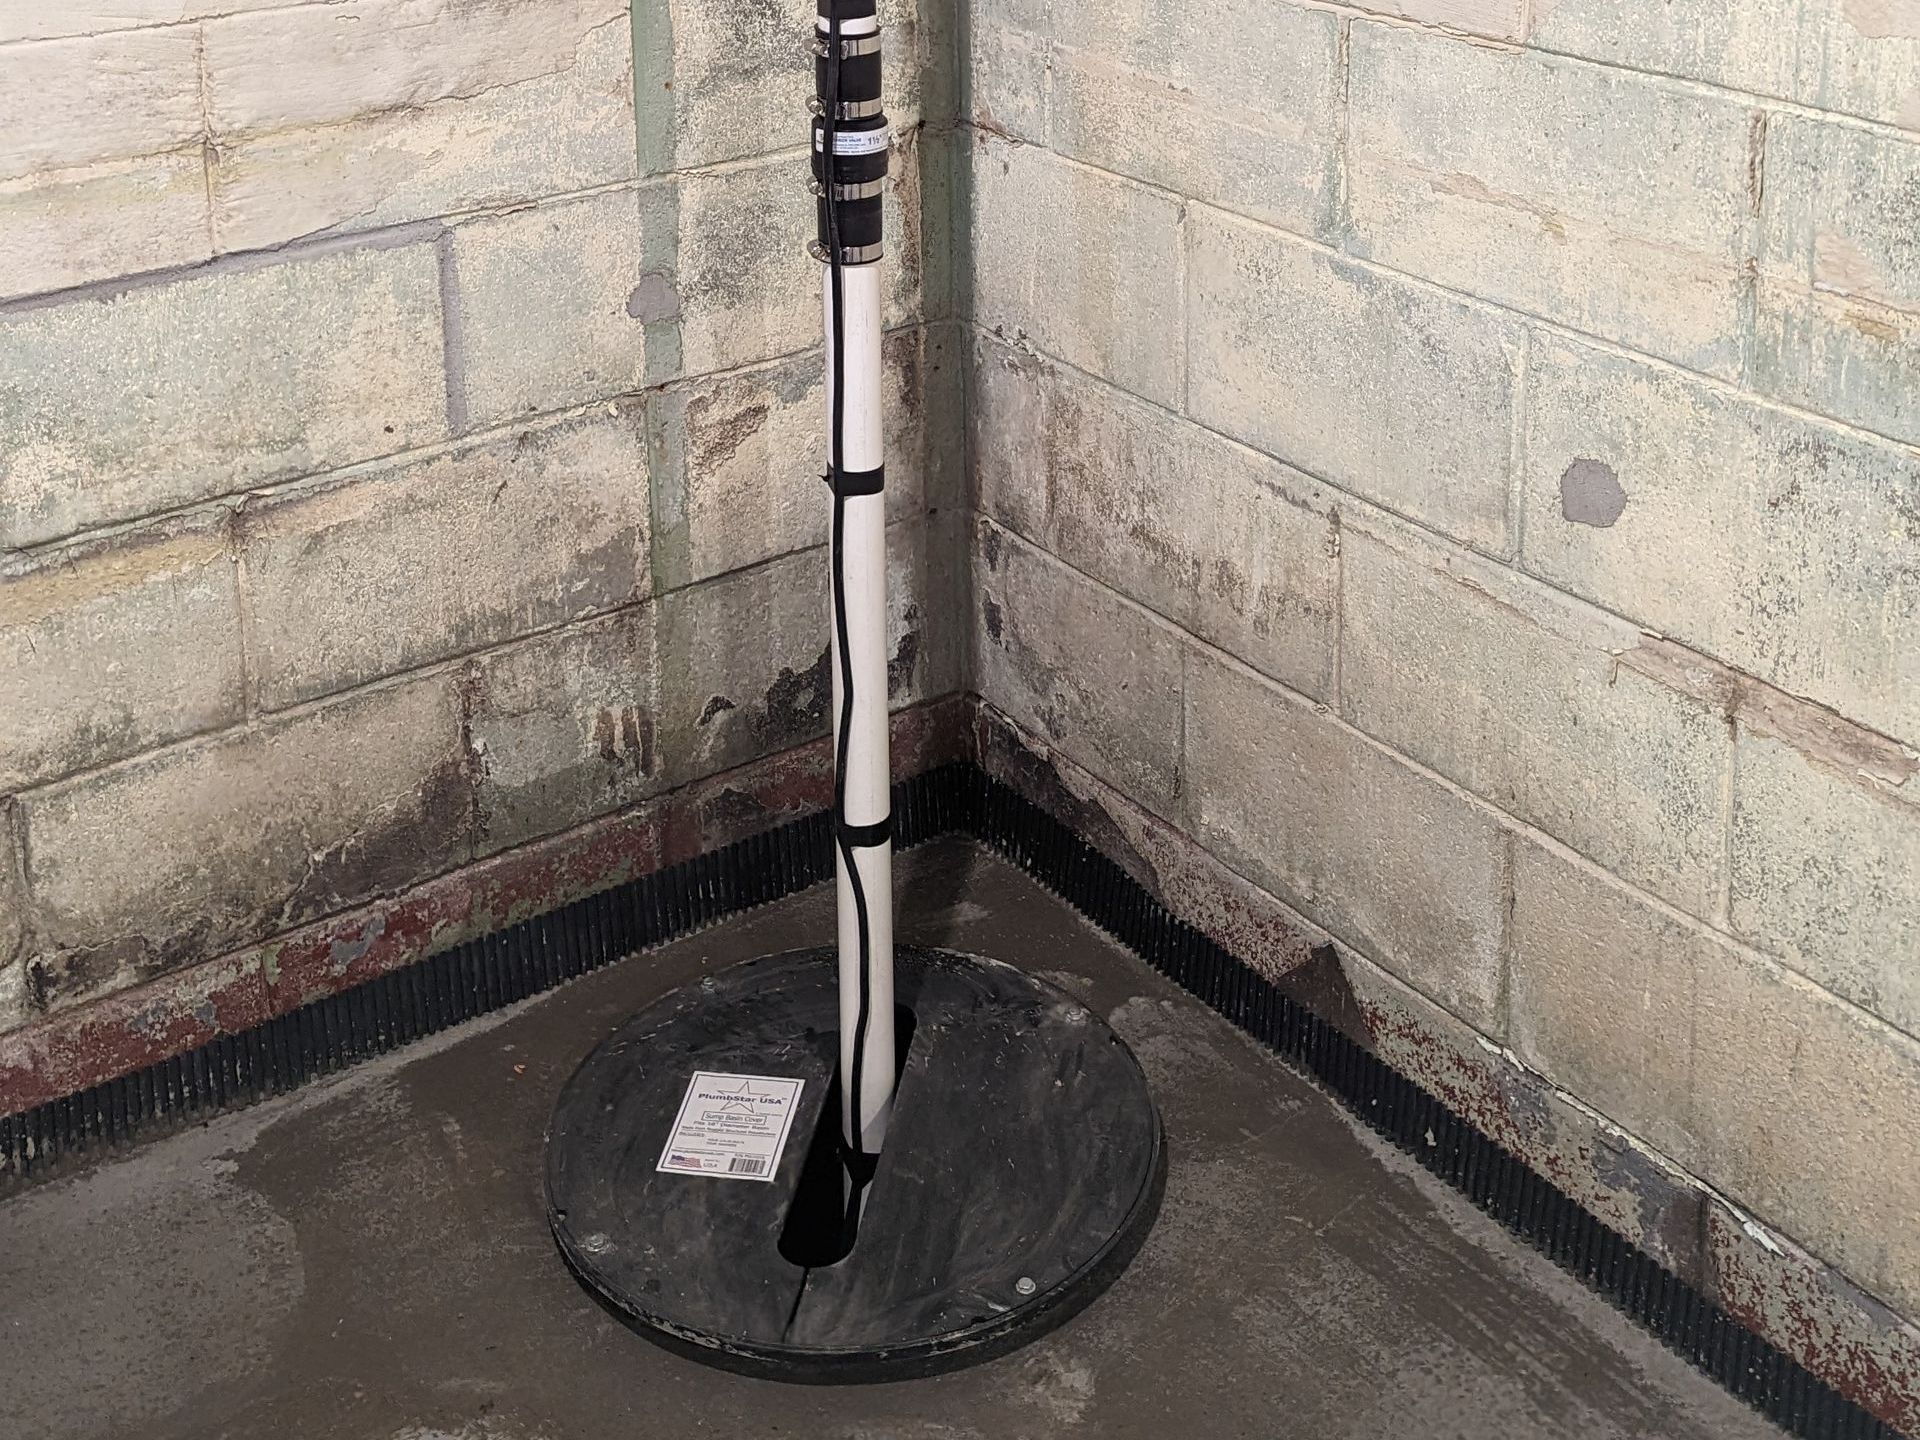
Step 7: Installation of New Drain Tile
Place the new interior drain tile along the excavated trench. Connect the sections securely using pipe connectors. Ensure a proper slope to facilitate water flow towards the designated drainage point, often a sump pump basin or pit.
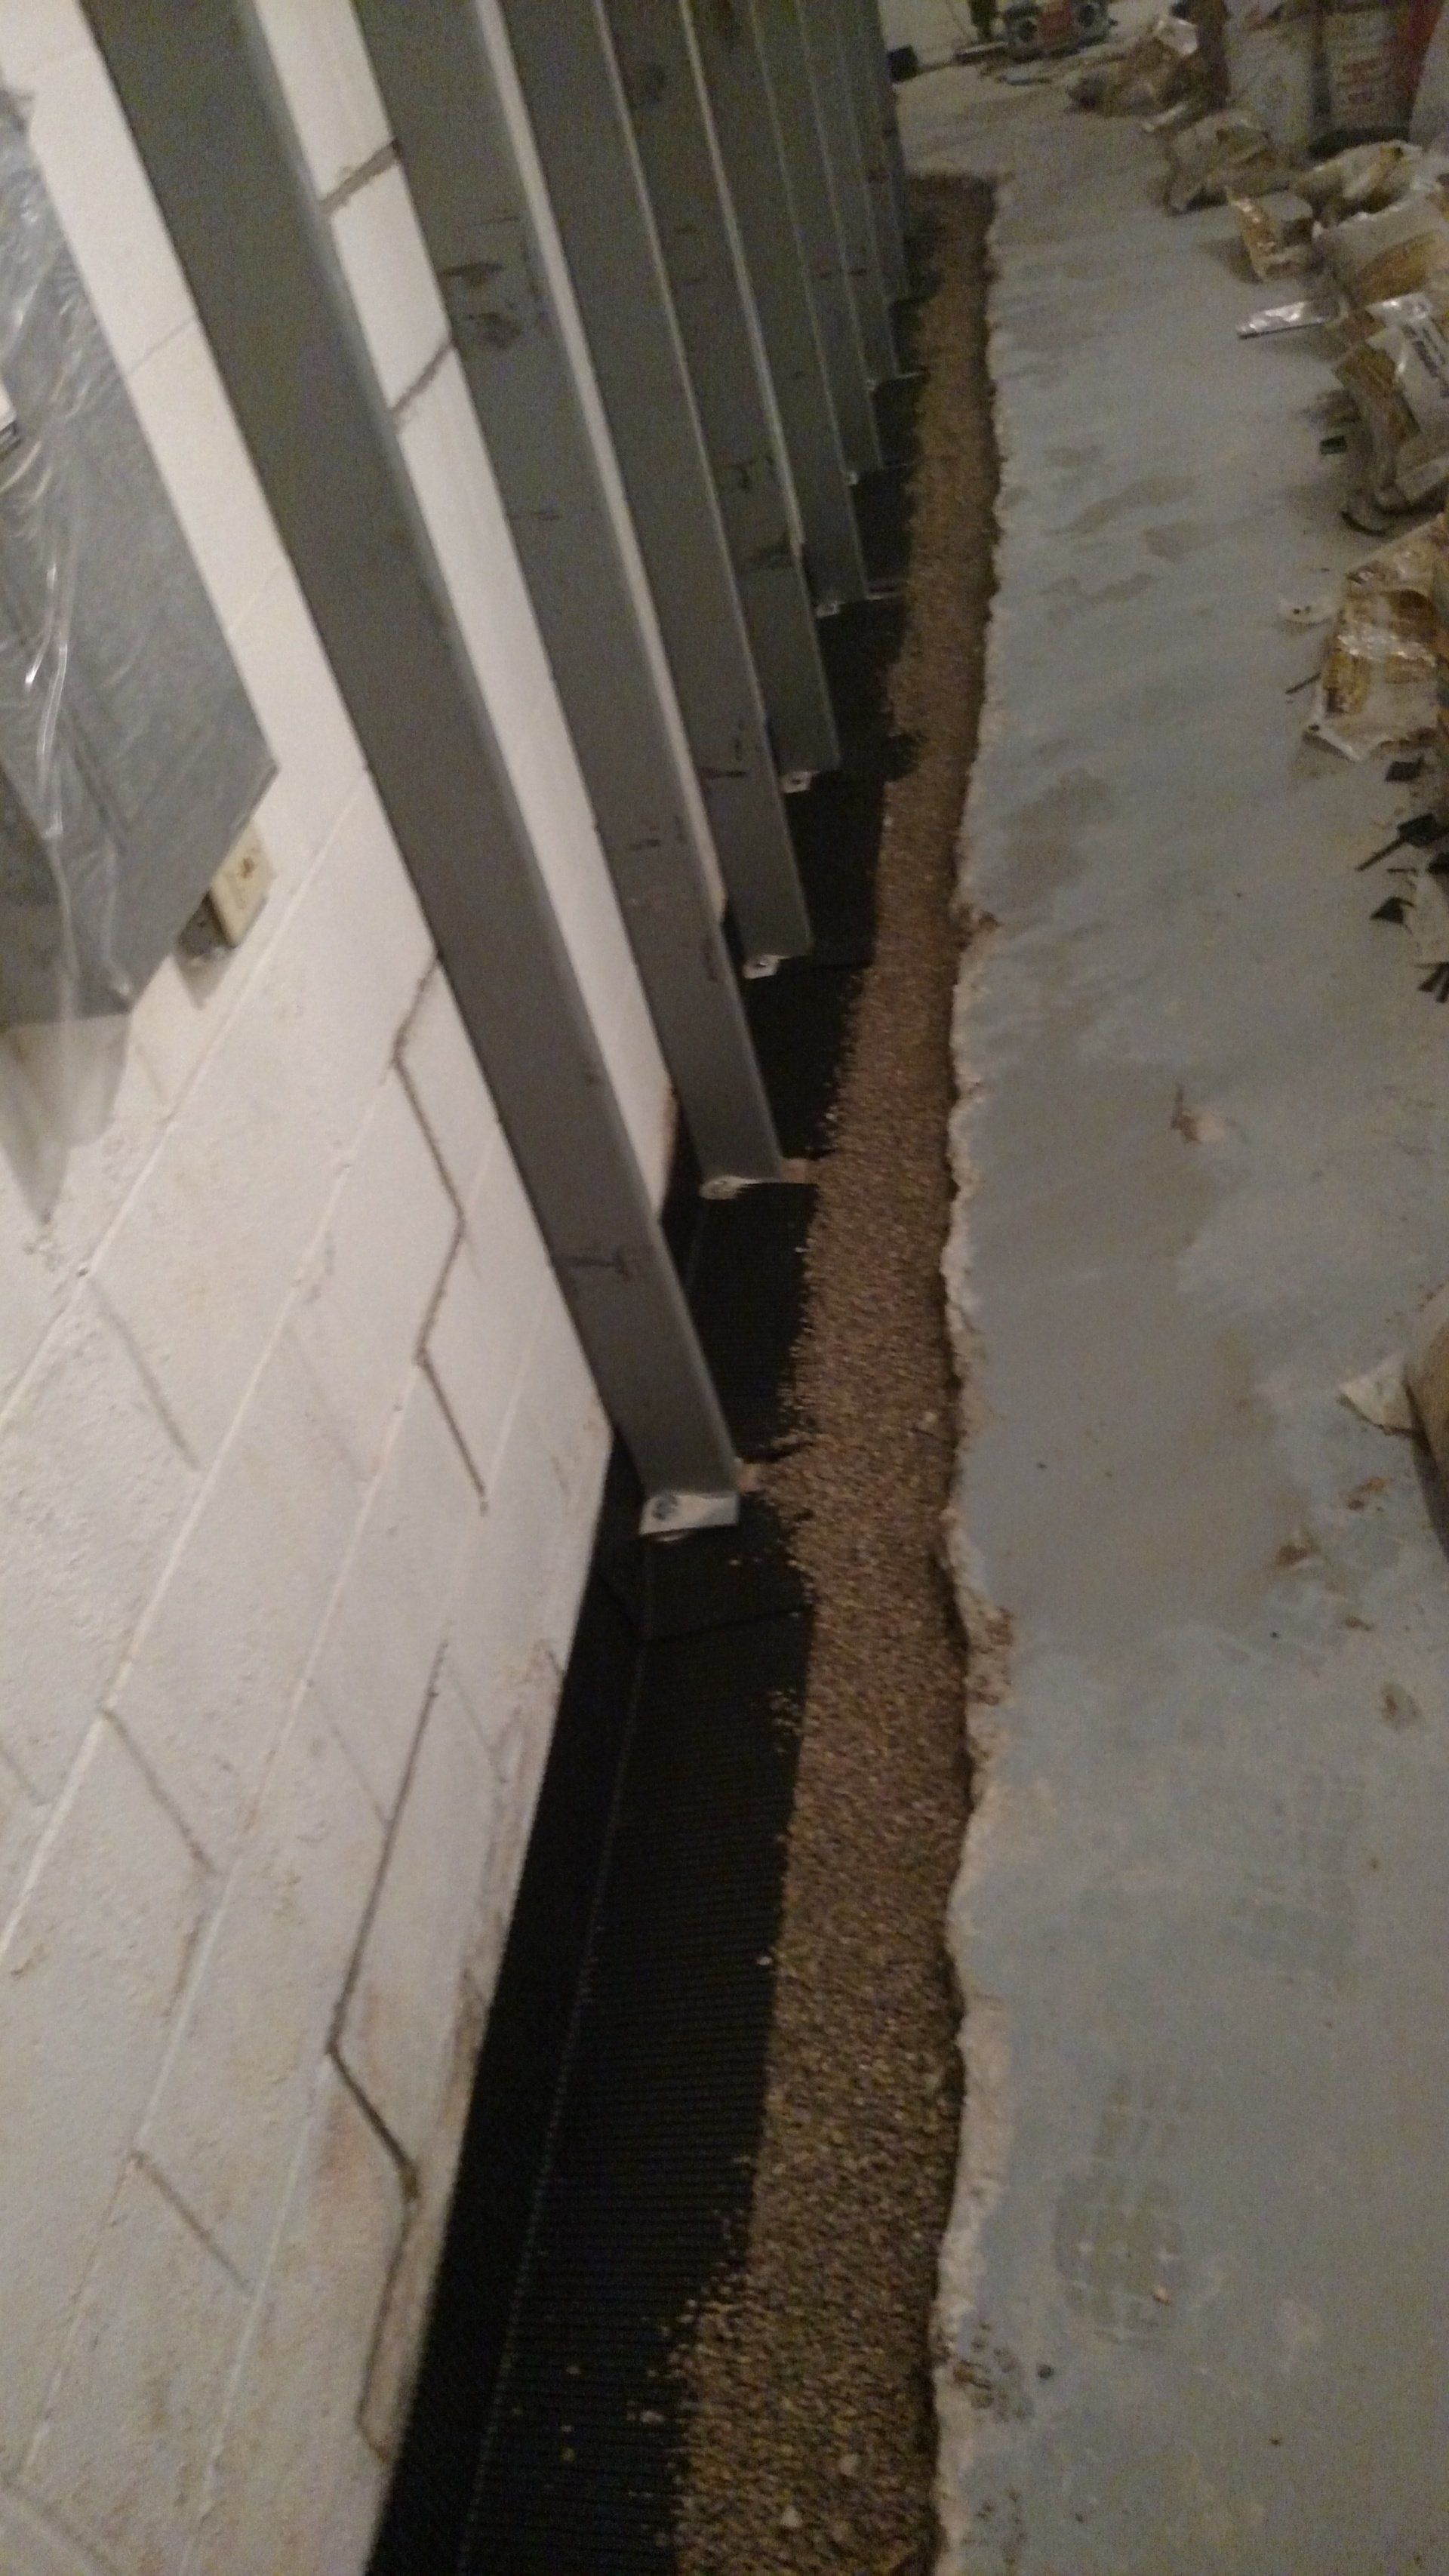
Step 8: Backfilling and Gravel Placement
Once the new drain tile is in place, backfill the trench with gravel or crushed stone. This helps provide proper drainage and prevents soil from impeding water flow. Ensure that the drain tile is surrounded by clean stone material.
Step 9: Installation of Waterproofing Membrane or Drainage Board
To enhance water resistance and to meet building code requirements we install a waterproofing membrane along the exterior of the basement walls. This additional layer helps prevent water from penetrating the walls and directs it towards the IT. After installing the drainage board we patch the test holes. At this point the job is also inspected by the local municipalities building inspector to ensure everything has been done according to code.
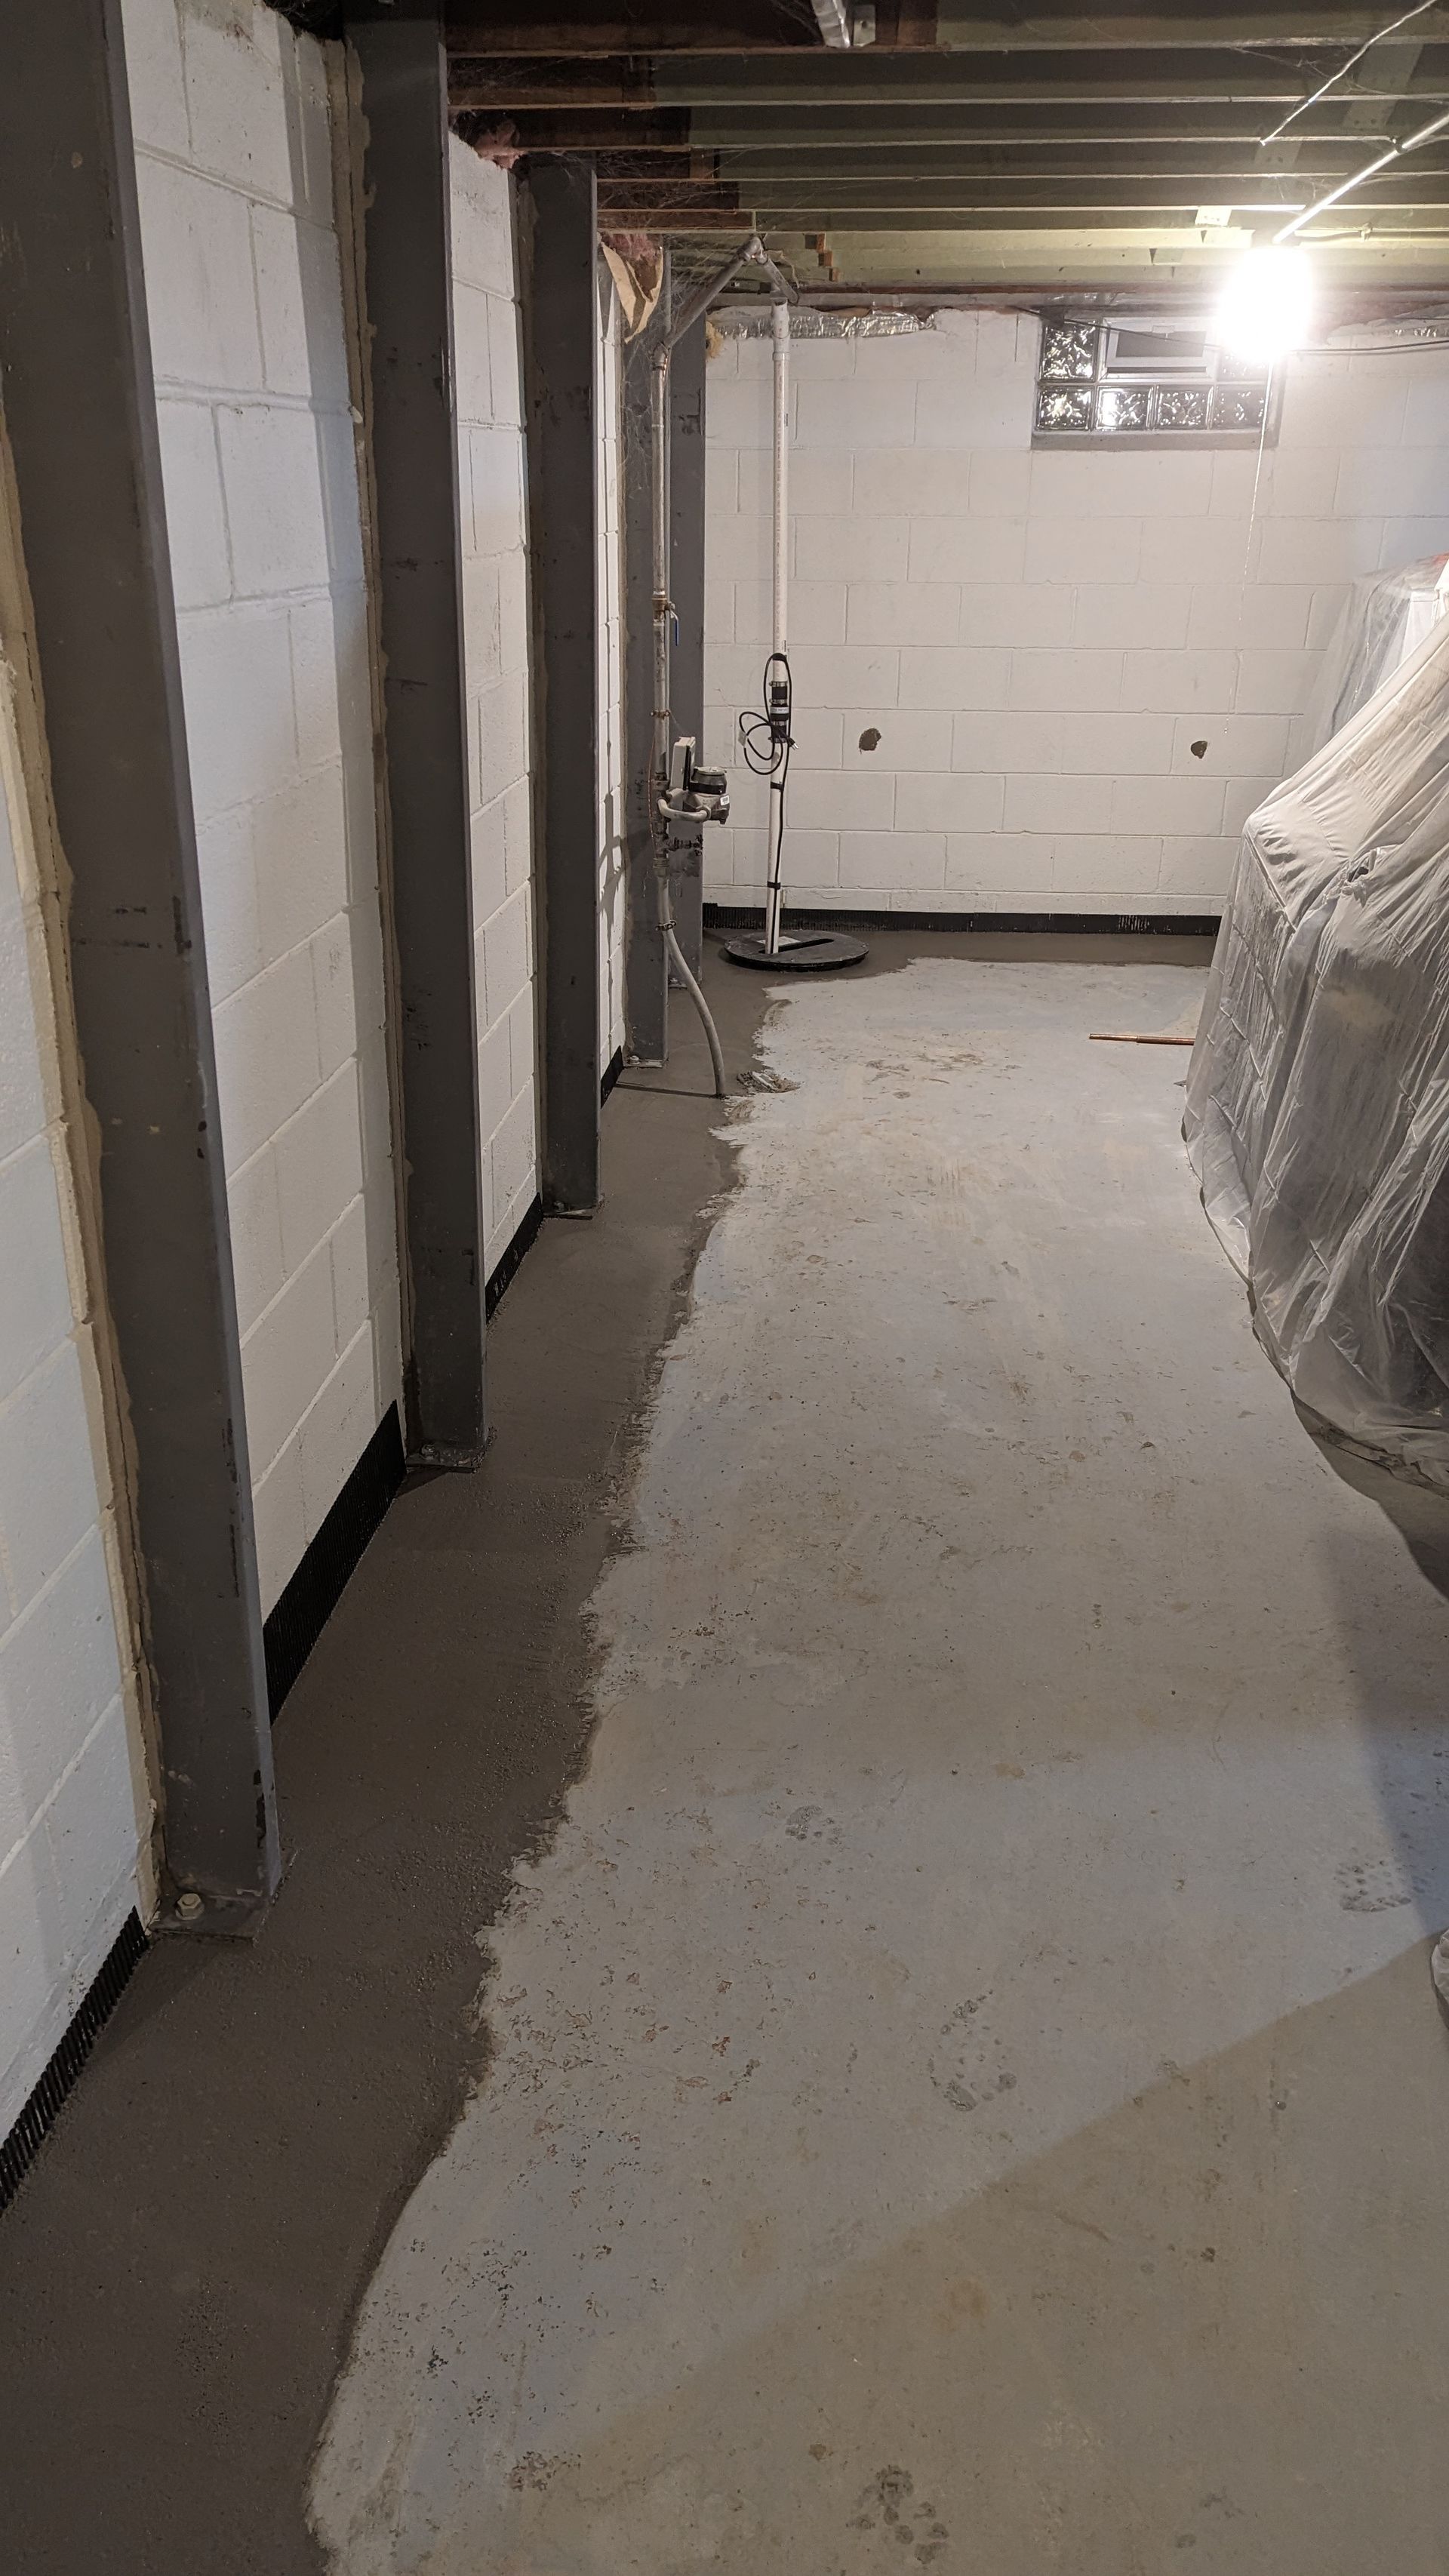
Step 10: Concrete Mix Application
Mix concrete and apply it over the trench, taking care to match the existing concrete with the new concrete. This helps create a stable surface and seals the drain tile system in place.
Step 11: Maintenance and Monitoring
Regularly monitor the performance of the IT system and conduct routine maintenance. This includes checking for signs of water issues, ensuring the sump pump is functioning correctly, and clearing any debris from the drain tile.
Conclusion: Ensuring the Effectiveness of Your Basement's Drain Tile System
Replacing interior drain tile in your basement is a proactive measure to protect your home from water-related issues. By understanding the signs that replacement may be necessary and following a systematic approach to the replacement process, homeowners can ensure the longevity and effectiveness of their interior drain tile system. Regular maintenance and monitoring further contribute to a dry and functional basement, allowing you to make the most of this valuable space in your home. If you're unsure about the replacement process or encounter complex issues, it's advisable to consult with professionals experienced in basement waterproofing and drainage systems for expert guidance. Replacing interior drain tile is a back-breaking job best left to professionals. Guaranteed Foundations specializes in both interior drain tile replacement and steel brace reinforcement per the Wisconsin Uniform Building Code.